
What Happens Before the First Paver Is Set Determines How Your Patio Performs in Midlothian, VA
Here is something most homeowners do not realize until the project is underway: the pavers are the last thing that goes down. By the time the first paver is placed, the excavation is finished, the base is compacted, the drainage is graded, the edge restraint is installed, and the bedding layer is screeded to a precise, consistent depth. The paver patio installation that looks effortless on the finished surface took days of work that nobody will ever see.
And that invisible work is everything. A paver patio installed on a shallow base will settle. One installed without drainage will pool. One installed without edge restraint will spread. And one installed on an uncompacted base will develop bumps, dips, and uneven joints within the first year, regardless of how expensive the pavers are or how attractive the pattern looks.
In Midlothian and across Central Virginia, where the red clay soils expand and contract with every rain cycle and every season, the base preparation is not a step in the process. It is the process. Everything that follows is finishing.
Related: Choosing the Right Contractor – Paver Patio Installer – Midlothian Chesterfield Glen Allen Richmond
What the Ground Tells You Before You Start
Every paver patio installation begins with the ground. Not the design. Not the material selection. The ground. Because the ground determines what the base needs to be, how deep the excavation goes, how the drainage is routed, and whether the site can support the patio without additional preparation.
In Central Virginia, the soil is predominantly red clay. Clay is not inherently a bad substrate. It has high bearing capacity, which means it can support weight without compressing the way sandy soil does. But it has two characteristics that complicate paver patio installation.
First, clay expands when it absorbs water. After a heavy rain, the clay beneath the patio swells. When it dries, it shrinks. That expansion and contraction creates movement in the base that transfers directly to the paver surface. A base that is not deep enough to buffer that movement, or one that does not include drainage to remove the water before the clay absorbs it, will telegraph every shift into the finished surface.
Second, clay drains slowly. Water that lands on the patio and drains to the perimeter has to go somewhere, and if the surrounding clay is saturated, it has nowhere to go. The water backs up against the edge of the patio, saturates the base, and softens the material that the pavers are sitting on. That is how settling starts.
A paver patio installation on clay soil in this region requires a deeper aggregate base than the same installation would in a region with sandy or granular soil. The aggregate layer creates a stable platform that distributes the load, promotes drainage, and isolates the paver surface from the clay's seasonal movement.
The Layers That Make the System Work
A paver patio is not a single surface. It is a layered system, and each layer performs a specific function.
The layers, from bottom to top, include:
The subgrade, which is the native soil after the excavation is complete. The subgrade needs to be graded to the correct slope and compacted to create a stable platform for everything above it. On clay, a geotextile fabric is often placed on the subgrade to prevent the clay from migrating up into the aggregate base and compromising its drainage capacity.
The aggregate base, which is the structural layer of the system. This is typically a compacted layer of crushed stone, installed in lifts and compacted at each lift to achieve maximum density. For pedestrian patios on clay in Central Virginia, a base depth of 6 to 8 inches is standard. For patios that will support heavier loads or that sit on particularly unstable soil, the depth may increase.
The bedding layer, which is a thin layer of concrete sand screeded to a precise, even depth on top of the compacted base. The bedding layer is what the pavers sit in. It accommodates minor variations in paver thickness and provides the final leveling surface. The depth is typically one inch, and it should not be used to compensate for an uneven base.
The pavers themselves, which are set in the pattern specified by the design, cut to fit at the edges, and tapped into the bedding layer to achieve a consistent, level surface. The laying pattern affects both the aesthetics and the structural interlock of the surface. Herringbone patterns provide the strongest interlock and are the preferred choice for areas with vehicular traffic or heavy use.
The joint material, which fills the gaps between the pavers and locks them together. Polymeric sand is the standard for residential paver patio installation. When activated with water, it hardens in the joints, resists weed growth, prevents insect intrusion, and stabilizes the pavers against lateral movement. Standard sand washes out with rain, provides no weed resistance, and requires regular reapplication.
The edge restraint, which is installed along the entire perimeter of the patio before the pavers are laid. The restraint prevents the outermost pavers from migrating outward under foot traffic and thermal movement. Without it, the patio edge will loosen over time, joints will open, and the surface will lose its interlock.
Each of these layers depends on the one below it. A perfectly laid paver surface on an inadequate base will fail. A perfect base with inadequate edge restraint will spread. The system works when every layer is executed to specification.
What Drainage Looks Like in the Finished Patio
Drainage on a paver patio is managed through two mechanisms: surface drainage and subsurface drainage.
Surface drainage is achieved through the slope of the finished patio. The surface should fall at a minimum of one percent, which is approximately one eighth of an inch per foot, away from the house and toward a designated drainage outlet. On a 20 foot patio, that is roughly two and a half inches of fall from the high side to the low side. The slope is subtle enough that it is not visible or perceptible when walking on the surface, but it is sufficient to move water off the patio before it pools.
Subsurface drainage depends on the aggregate base and, where necessary, a French drain or channel drain installed at the low side of the patio. On clay soils where the water cannot percolate through the subgrade, the subsurface drainage collects the water that moves through the base and routes it to a discharge point. Without it, the base becomes saturated from below, and the patio begins to settle in the areas where the water accumulates.
The drainage plan is designed during the layout phase and executed during construction. It is not something that can be effectively added after the patio is built.
Related: Enjoy Warm Fireside Conversations and Outdoor Dining With a Paver Patio and Fire Pit in Richmond, VA
The Choices That Affect How the Patio Looks and Lives
The material, the pattern, and the color are the decisions that most homeowners focus on, and they are important. But they are aesthetic decisions, not structural ones. The patio will perform the same way regardless of whether the pavers are tumbled or smooth, gray or tan, laid in a running bond or a herringbone.
That said, there are practical considerations within the aesthetic choices:
Lighter colored pavers stay cooler in direct sun, which matters in Central Virginia's summers when the patio is used barefoot or when furniture is positioned in full sun exposure
Textured surfaces provide better slip resistance when wet than smooth surfaces, which is relevant for patios adjacent to pools, water features, or areas that receive runoff from the roof
Larger format pavers create a cleaner, more contemporary look with fewer joints, but they require a more precise base because any variation in the substrate is more visible on a large paver than on a small one
Tumbled or antiqued finishes disguise minor imperfections and settle into the landscape more naturally over time, which makes them a popular choice for properties with traditional or transitional architecture
The material selection should be guided by the design, the architecture of the home, and the homeowner's long term maintenance expectations. A paver that looks great on a showroom display but does not complement the house, the stone, or the surrounding landscape will feel like it was chosen in isolation.
What Happens After the Pavers Are Down
The paver patio installation does not end when the last paver is set and the polymeric sand is activated. The first few weeks after installation are a settling period where the system finds its equilibrium. Light furniture can be placed immediately, but heavier items like built in grills or large planters should wait until the base has fully consolidated.
Sealing is an optional step that many homeowners choose to protect the surface and enhance the color. A quality paver sealer creates a barrier against staining, reduces moisture absorption, and can intensify the natural color of the paver for a richer, more finished appearance. Sealers are available in matte, satin, and gloss finishes, and the choice depends on the homeowner's aesthetic preference and the level of sheen they want on the surface. Sealing should be done after the pavers have been cleaned and the polymeric sand has fully cured, typically two to four weeks after installation.
Long term maintenance is minimal but not zero. The joints should be inspected annually and replenished with polymeric sand if erosion or settling has opened gaps. The surface should be cleaned periodically to remove organic staining, mildew, and accumulated debris. And any pavers that have shifted or settled should be lifted, the base corrected, and the pavers reset before the misalignment spreads to adjacent units.
One of the advantages of a paver system over poured concrete is that individual units can be removed and replaced without disturbing the rest of the surface. If a utility needs to be accessed beneath the patio, the pavers in that area can be pulled, the work completed, and the pavers reinstalled. Try that with a concrete slab.
How the Patio Connects to Everything Around It
A paver patio installation does not exist in isolation. The patio connects to the house through a doorway or a step down. It connects to the lawn through an edge or a transition. It connects to the planting beds through a border. And it connects to the overall landscape through the material palette, the proportions, and the way the space flows from one zone to the next.
The most successful patio installations are the ones where the patio was designed as part of the larger landscape, not as a standalone surface. The walkway leading to the patio uses the same paver or a complementary one. The retaining wall or seating wall that borders the patio is built from a coordinating material. The plantings that frame the patio are selected to soften the hardscape without encroaching on the surface. And the lighting plan extends from the patio to the surrounding landscape so the space feels complete after dark.
When the patio is designed and installed as part of a cohesive plan, it does not look like a patio that was added to the yard. It looks like the yard was designed around it.
The Patio That Was Built to Stay
A paver patio installation is not a weekend project. It is a construction process that requires excavation, base engineering, drainage planning, precision leveling, and the technical skill to execute every layer to the tolerances that the system demands.
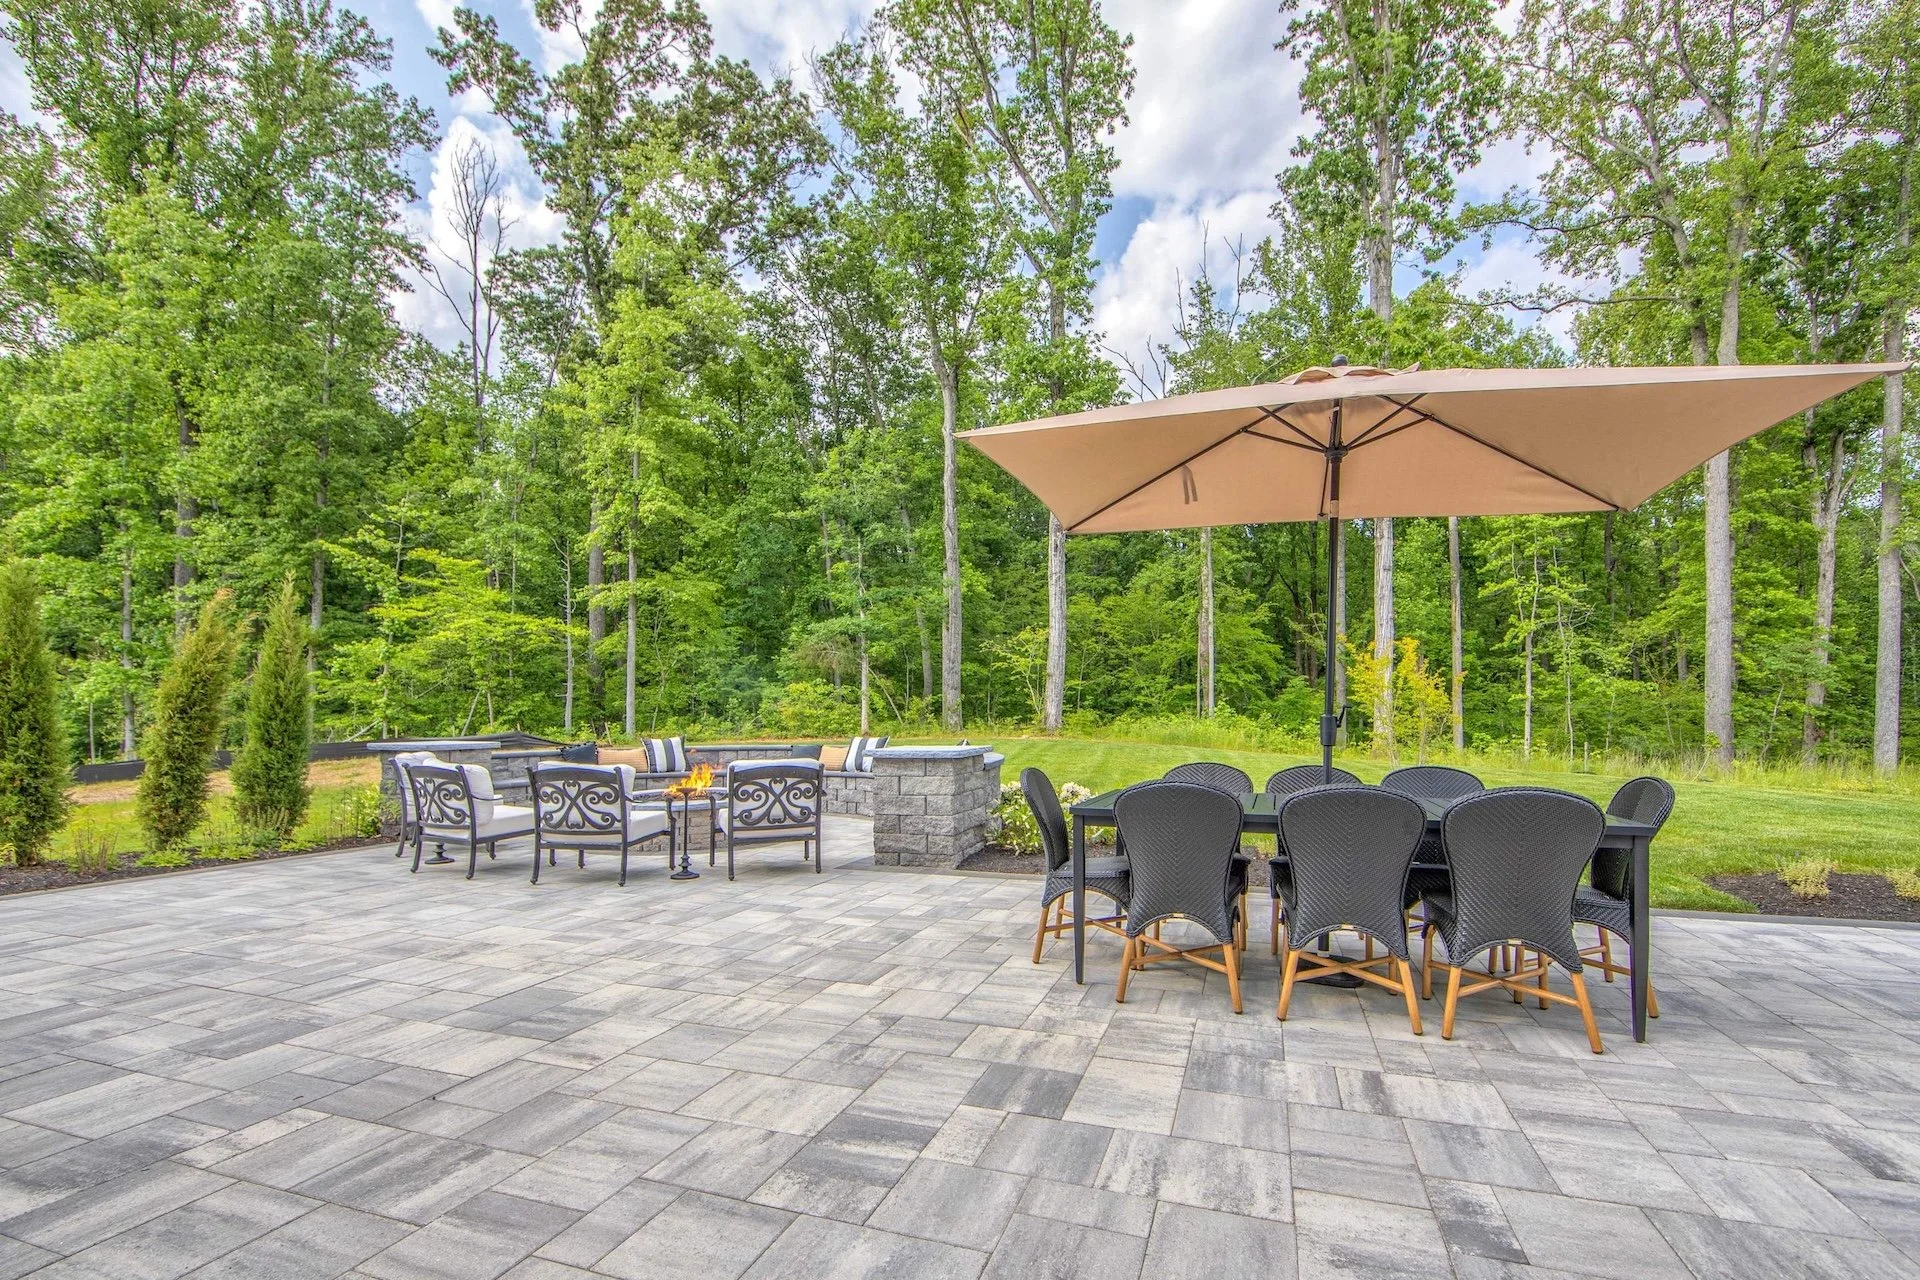
The patio is the foundation of the outdoor living space. It is where the furniture sits. Where the grill lives. Where the fire pit draws people in. And where the family gathers on every evening warm enough to be outside.
The installation is what determines whether that surface holds up for two years or twenty. And the difference between the two is not the paver. It is everything underneath it.
Related: Designing the Perfect Paver Patio and Outdoor Kitchen for Your Richmond, VA or Midlothian, VA Home
With one lawn mower and a lot of determination, Josh Goff started Commonwealth Curb Appeal in 2004 as a way to make a living while spending time in the great outdoors.
In 2007, he traded the lawn mower for masonry and carpentry skills and began building outdoor living spaces. By 2015, he was named among the Top 40 Under 40. Over the years, the company has grown into the full-service landscape design and build firm it is today.